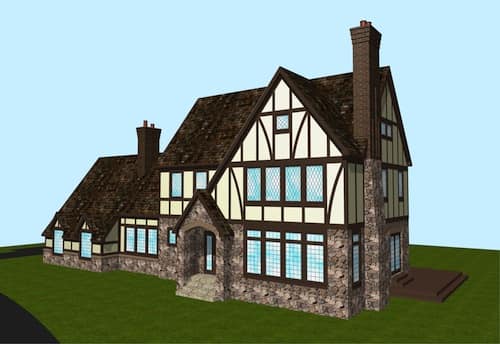
When doing remodels, I often come across some weird chimneys. Likewise when doing new construction, certain architectural styles suggest less than plain chimneys. Here’s a video sharing some tips on how to make good looking chimneys in ArchiCAD. Of course these modeling tips and techniques could be used for other forms. Think of chimney modeling as a proxy for all sorts of non-standard shapes. And this is just the beginning. To further BIM-ify the chimney there are a bunch of things you could do like turning the results into hotlinked Modules, Morphs, Objects, etc. But that’s for another video (or videos).
Modeling tips for Chimneys in ArchiCAD
Of course all this will get tweaked with the improvements in ArchiCAD 17, specifically because of Building Materials and Priority Based Connections; but I can’t start sharing homebrew ArchiCAD 17 images and videos for a few weeks yet. Patience. But now that many of the new features of ArchicAD 17 are public, I am able to mention in the video how these techniques will get even better starting sometime in June 2013!
Bonus Notes:
I glossed over material selection in Complex Profiles. We can talk more about that starting in June or July with ArchiCAD 17, if people want. In the example chimney you’ll notice that the depths of the beams are different. I forgot to show how to do that in the video. But changing the length of a beam is something you should know how to do already. I hope. Also did you notice how when I made those four walls they were instantly a group? Autogroup is a pretty cool feature that I always leave on. Learn more about groups here.
In the above video I mention two other videos about Complex Profiles. If you haven’t watched them, you should. One last note, this was another reader question. Thanks for asking! See a pattern forming? Who’s next? Send me an e-mail or leave a comment.
SUPER Bonus Note:
This chimney could also be modeled with just Morphs. Here’s a video showing you how.
For even more ArchiCAD goodness, make sure to follow Shoegnome on Facebook, Twitter, and Youtube.

2 thoughts on “Modeling tips for Chimneys in ArchiCAD”
While I love complex profiles this seems to be a rather convoluted process. Why not just go to a section or elevation window and draw the same shapes with a morph? It saves the steps of having to type names for each part and save them individually. And then clutter up your profile manger with junk. More control over materials too. I think I’d then make it an object. The nice thing about morph to object is if you need to edit the object you can create a morph from the object and it will explode back to the individual parts. Then resave as object but don’t forget to copy your tidy line work in the object’s 2d symbol!
Matt, good advice. I agree my method does create for a cluttered complex profile list (As do many of my tricks). All my examples are pre-Morph. I think drawing the morph in section makes a lot of sense. Or using CPs, then Morphing it and deleting the CPs from the list. Whatever is faster for the individual user. I think trim bands like below the cap I’d still do as CP walls. I think that’d be faster than the Morph. But the rest could (should) now be done with Morphs, either from scratch or Morphed elements.
The 2D symbol is probably the other big decider. Each solution-Morphs, Objects, Complex Profile walls and beams-has its advantages in that department. Sticking with walls and beams, you can get them to merge nicely with the regular walls of the building.
Seems like I should do a follow up video that shows how to do that same chimney as a Morph. This is maybe an example of a user stuck in the old ways… if I can admit that… I’ll have to do that video and see if the Morph offers other advantages. I’ll hopefully record it in the next few days. Thanks.