Photorealistic rendering is probably the most time-consuming mode of architectural representation.
Even approximating realistic lighting conditions and material effects through specialized rendering software is an arduous task of trial and error. While I recognize and respect the place of these images in the contemporary practice of architecture, the daily reality of a small practice demands a method for producing renderings not dependent on large investments in software, time or personnel. Over the next few posts I would like to share some techniques I have developed for producing effective renderings through the use of Photoshop and a program able to handle vectors such as Illustrator, Vectorworks, or ArchiCAD.
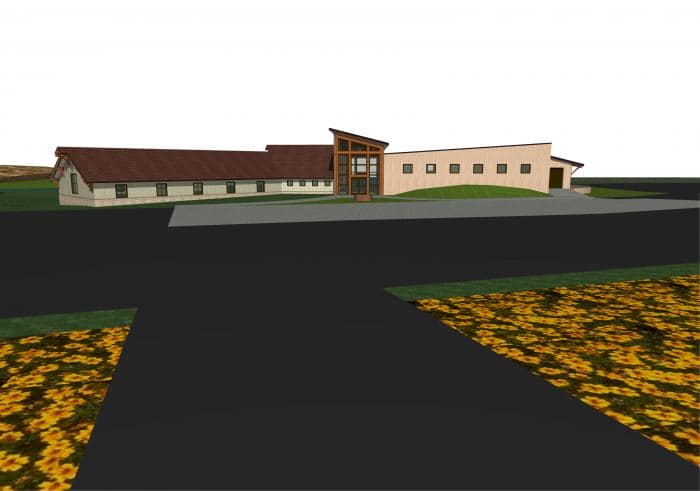
I will focus on three strategies: Creating a narrative, finding and editing background images, and altering the base image. Since my desire is to reduce the amount of time spent in the modeling program adjusting lighting effects, the base images for these demonstrations are views from a complete ArchiCAD model rendered simply with materials and basic cast shadows.
First we need to find an appropriate sky background.
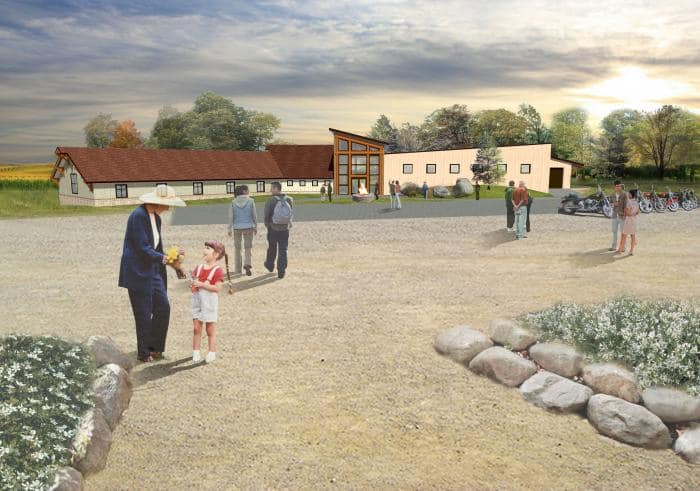
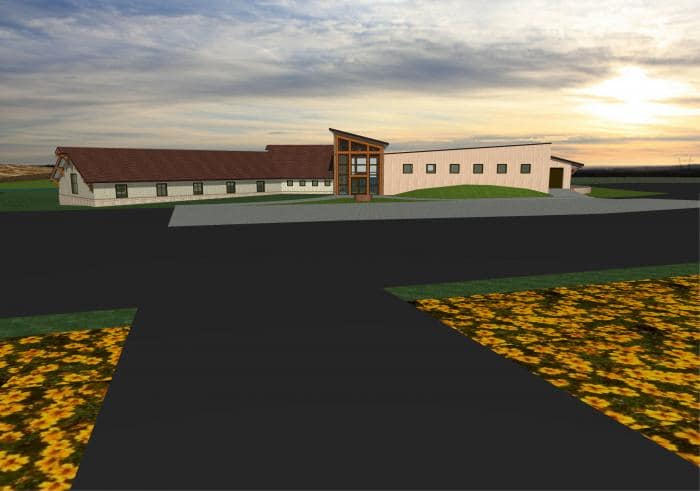
For a base rendering with few lighting effects, the sky you select will determine most of the adjustments required later in the process. This lighting is also a fundamental factor in structuring a narrative for the image. In this case, I wanted to simulate the sunrise and approach to the church just prior to an early morning service. Sky image searches on Google usually return a large number of reasonably high-resolution hits, so precise and creative search wording is usually not necessary. To incorporate the sky, it is necessary to delete the white background of the base image. The even color allows you to simply select and delete the background with the magic wand.
The next step is to rough in landscape textures.
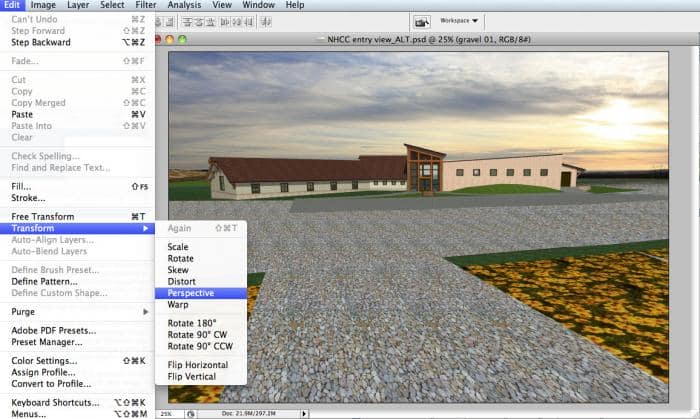
Like any picture you want to start very general, roughing in large areas of lights, darks and textures to arrive at a balanced composition before moving on to the details of scalies, plants, etc. In this case, the most important landscape element is the very large area of dark gravel in the foreground. This should be decomposed granite or a similar material, so we know the basic texture we are looking for. Dark areas also tend to recede, so we know we want a lighter color for this foreground area. My first attempt to cover this area was with a seamless gravel texture tiled and adjusted for perspective in Photoshop.
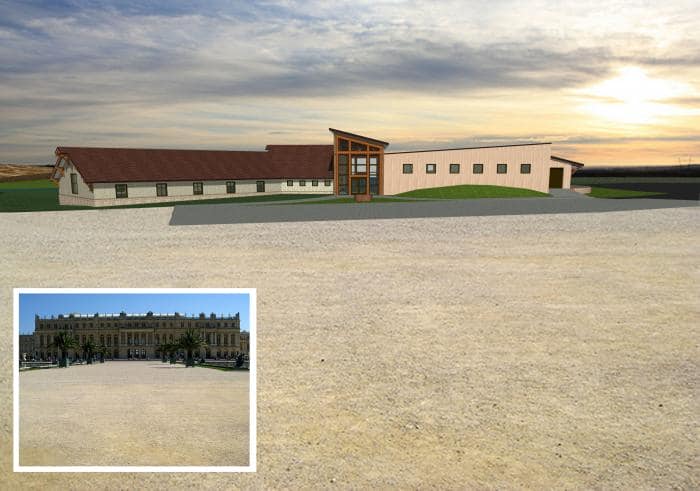
Unfortunately, even this seamless texture appears tiled over such a large area, and the perspective distortion at the extreme foreground looks awkward. My second strategy was to find an image with approximately the same view and depth as the base image. Since the rendering is from eye level I assumed there would be many backgrounds available so it was just a matter of using the appropriate image search term. Instead of searching for the term you want (decomposed granite), it is more productive to reference past experience with architecture and landscape for a project or image with a similar situation. In this case, I recalled the large expanses of decomposed granite in the landscapes of most European chateaus and was able to find almost an exact match from the gardens at Versailles. The image was then carefully stretched and clipped using the polygonal lasso. No transparency was applied, as I wanted to completely mask the dark foreground.
|
|
Moving to the middle and background…
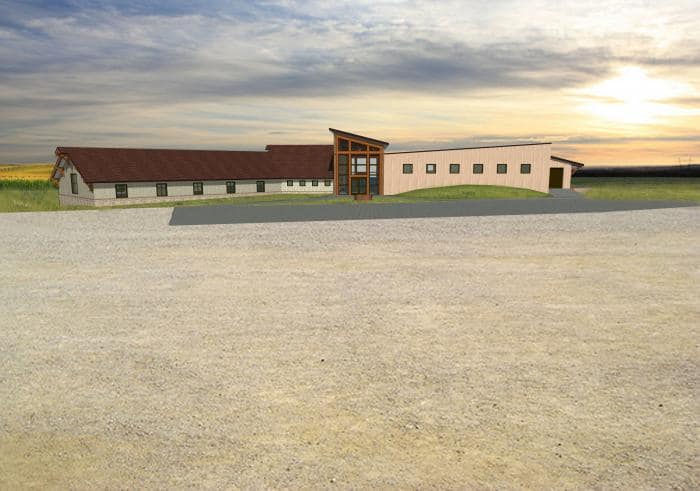
I needed to add a more random grassy texture to the hills and lawns around the church. Like sky images, grasses are easy to find on Google, especially since the distant placement of these textures makes high resolution unnecessary. Where the grass meets the gravel and building I used the polygonal lasso to achieve a hard edge; where the grass meets the sky I used the eraser tool with a moderately hard edge. The cornfield in the background was made in a similar fashion. These textures are applied with some transparency. The layering of a regular and random texture provides more depth and allows you to use a less detailed grass image and still achieve a more realistic result.
Once the basic composition is in place, it’s time to add trees and plants.
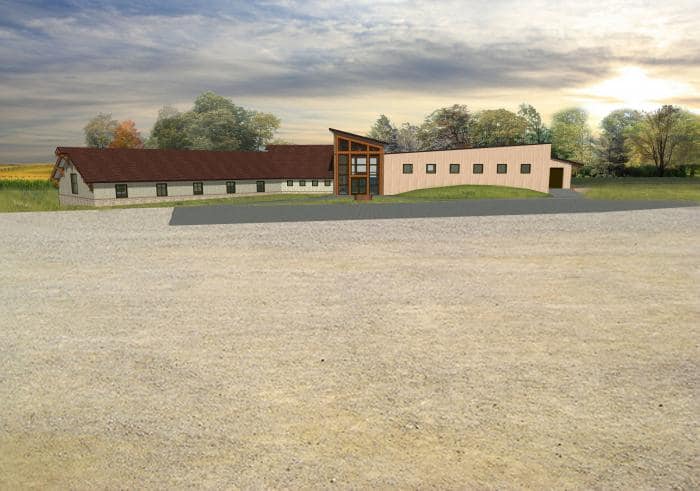
Finding and editing acceptable tree images is difficult. Creative search terms can be helpful here. For example, a search for ‘groups of trees’ or similar phrases yielded images with too many trees that would be difficult to edit. However, searching for alternate descriptions such as ‘copse’ or ‘bosq’ yielded some of the desired images. I also searched for specific species to add color and additional texture. Again, since we are primarily looking for color and texture I did not worry whether the trees were indigenous to the area. To edit these images, I used the magic wand set to a low tolerance to select and delete the sky. This eats away areas between the branches. I then clean up with the eraser tool. Perfect clarity of the images is not our goal. We want to create a varied tree texture by layering many of these images. The step-by-step image for the tree group to the right and the final result are shown in Figures G and H.
|
|
That’s it for now! The next post will address adjusting the base image for the environment and adding detailed scale elements such as people and landscaping.
About the author:
David Jefferis is a licensed Architect and principal at Grayform Architecture in Houston, Texas. Though ArchiCAD is his preferred program, he has extensive experience on multiple modeling and rendering platforms. His primary interest is in general techniques and theories of standardized architectural representation, with a specific focus on the ways in which BIM software alters the way these drawings are made by expanding the amount, availability, and types of graphic and textual information.

8 thoughts on “Guest Blogger – David Jefferis shares an alternative to Photorealistic Renderings”
I want to contact u,&i want to learn somthing to u.
that was enlightening, thank you.
i was wondering whether you would help me with how to land scape in Archicad .that is to create terraces and hills and valleys?
Luke,
The best way to do terrain with the basic ArchiCAD tools is to use the Mesh tool. I believe there are some good tutorials on YouTube that talk about making terrain with meshes in ArchiCAD. Maybe one by Eric Bobrow?
There is quite good chanell about pohotoshoping visualisation no youtube : http://www.youtube.com/hogrefal
Jan,
Thanks for the link. Looks like some good tips.
Pingback: Quick and Pretty Renderings From ArchiCAD | Shoegnome
Check this company’s renders plus some usefull tutorials
https://www.facebook.com/pixelflakes?fref=ts
Pingback: The Basics of making a Movie from ArchiCAD - Shoegnome